How to Build a Greywater Septic System for Off-Grid Living
Mason LogueLooking for a better way to manage greywater from your sink, shower, or washing machine? If you're off-grid or simply want to reduce your environmental impact, a DIY greywater septic system might be your answer. This guide explains what a greywater septic system is, when it makes sense to use one, how it's different from traditional septic, and how to build one from the ground up.
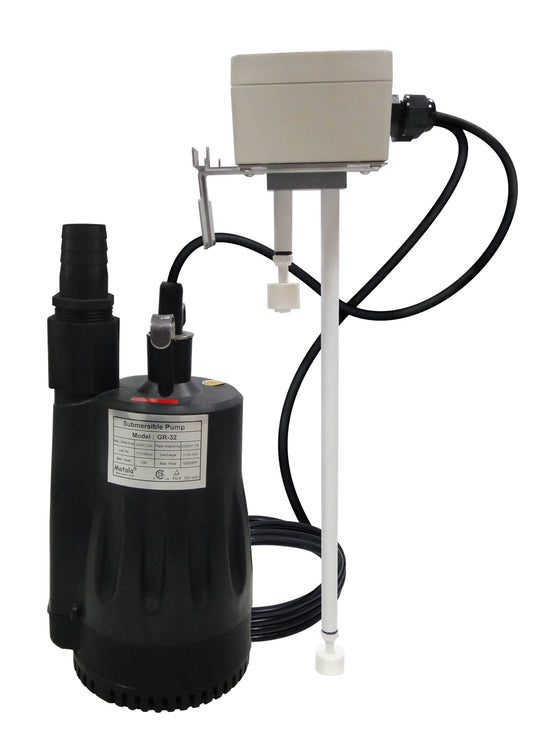
If you're looking for a simple to install, complete greywater system ready for off-grid living, check out the Auqua2Use system here.
What Is a Greywater Septic System?
A greywater septic system handles only greywater—the relatively clean wastewater from bathroom sinks, showers, bathtubs, and laundry machines. Unlike blackwater from toilets, greywater contains fewer pathogens and solids, making it easier and safer to filter or infiltrate into the ground.
Why Use One?
- Water Conservation: Especially useful in dry or desert climates, greywater can be reused for irrigation or safely returned to the ground.
- Space-Efficient: A great solution for small structures like tiny homes, RVs, and off-grid cabins.
- Environmentally Friendly: Helps replenish the water table without burdening full septic systems.
- Regulatory Simplicity: Greywater systems are often subject to fewer regulations than full septic setups. Always check with local authorities.
When Subsurface Infiltration Makes Sense
Greywater is often reused for surface irrigation, but there are times when subsurface infiltration is the better or necessary option:
- Odor Control: Greywater basins exposed to air can emit unpleasant smells.
- Animal Safety: Open water basins can attract pets or wildlife who may become sick from drinking untreated water.
- Lack of Irrigation Area: Some properties may not have trees, gardens, or landscaping suitable for above-ground reuse.
How It Works
Greywater septic systems use a simplified setup compared to traditional septic tanks. Because greywater lacks solids and grease, the system doesn’t need to separate layers or settle waste. Instead, water is filtered and dispersed directly into the soil using perforated barrels and gravel beds, with an overflow plan in place.
Materials Checklist
- Two 55-gallon plastic barrels
- 10–20 feet of 3" Schedule 40 PVC
- One 90-degree and two straight 3" PVC couplers
- One 3" threaded fitting and screw cap
- Two feet of 4" Schedule 40 PVC
- One 4" coupler and one footloose sewer cap
- 4 tons of drainage gravel
- 30 sq ft vapor barrier vinyl
- One tube waterproof sealant
Step-by-Step Installation
Step 1: Dig the Pit
Excavate a hole measuring 7 feet long, 4 feet wide, and 5 feet deep. This depth allows space for drainage gravel and the two barrels. Maintain about 1 foot of clearance around each barrel for proper gravel packing.
Step 2: Dig Trenches
Create trenches from your greywater source to the septic pit, and from the pit out to the leach field. These should slope downward to maintain gravity flow. The leach line trench should be at least 2 feet deep.
Step 3: Add Base Gravel
Pour about 2 feet of drainage gravel into the bottom of the main pit. Use large, coarse gravel to ensure fast infiltration.
Step 4: Prep the Barrels
Drill at least 12 evenly spaced 1" holes in the bottom of each barrel to allow water to drain. Use a cross-pattern layout.
Step 5: Drill Side Ports
Use a 3.5" hole saw to cut holes on the sides of each barrel where the PVC will connect. Make each hole slightly lower in sequence to maintain flow from one barrel to the next and into the leach line.
Step 6: Position the Barrels
Place both barrels upright in the pit on top of the gravel bed. Align the side holes with each other and with your inlet and outlet trenches.
Step 7: Add Gravel Around Barrels
Fill the pit with drainage gravel around the barrels, stopping just below the connection ports. Temporarily insert or tape over pipes to prevent gravel from getting inside.
Step 8: Prep the Leach Line
Drill several 1" holes into a 10-foot section of 3" PVC. Cap the end to direct flow downward through the perforations.
Step 9: Lay the Leach Line
Place the perforated pipe on a bed of gravel in the leach trench. Ensure it slopes slightly to encourage consistent drainage.
Step 10: Install the Pipes
Connect the barrels with 3" PVC piping through the drilled side holes. Make final adjustments to trench depth if needed.
Step 11: Apply Vapor Barrier
Cover the gravel surrounding the barrels with vapor barrier vinyl, trimming to fit tightly around the barrels.
Step 12: Barrier for Leach Line
Lay vapor barrier above the leach line pipe to protect from backfill contamination.
Step 13: Add Cleanouts
Drill access holes in the barrel lids and insert 3" or 4" vertical pipes with caps. This allows for maintenance, pumping, or inspections.
Step 14: Seal Pipe Connections
Apply waterproof sealant around all pipe entries to prevent leaks and secure fittings.
Step 15: Backfill and Finish
Once sealant has cured, fill in trenches and the main pit with soil. Compact as you go. Add rocks around cleanouts for visibility and protection.
Final Checks
Connect your greywater outlet and run a test. Observe through the cleanouts to confirm smooth drainage and no seepage. The system should quietly filter water underground without odor or overflow.
Greywater reuse made simple.


